Bathroom Remodel - Laying the Foundation


The first order of business was to replace the subfloor around the toilet. It had been replaced about 15 years earlier, but was already showing water damage. the hardest part was getting the drain out of the way and lining up the hole to fit it back in. Took some patience and an extra pair of hands, but we got it back in.

Once the subfloor was secured, I laid the cement board underlayment. I didn't think about it much at the time, but in retrospect, I should have staggered those seams, even if it did mean more cuts. I will keep that in my "Lessons Learned" files. The cement board is taped similarly to drywall, but with a wire mesh tape and a specialized mud.

This is the part where my bathroom looked like something from a Stephen King Novel. Remember the water damage around the toilet? I don't want to have to deal with that again, So I used a waterproofing product. It was a liquid membrane applied with a paint roller. It went on pink and turned red when it was dry. You may notice the fan in a lot of these pictures. I was already behind schedule!

With my murder floor dry, I was able to start hanging the drywall. Green board means that it is mold resistant for damp areas. I will use it again in the basement. The size of the room made for minimal cuts and this part actually went faster than expected. Part of the reason it went so fast was a tip from my dad. I put in the first couple of screws to hold the sheet in place, then I used my 4ft level to draw a pencil line at each stud. No misses with the screws!

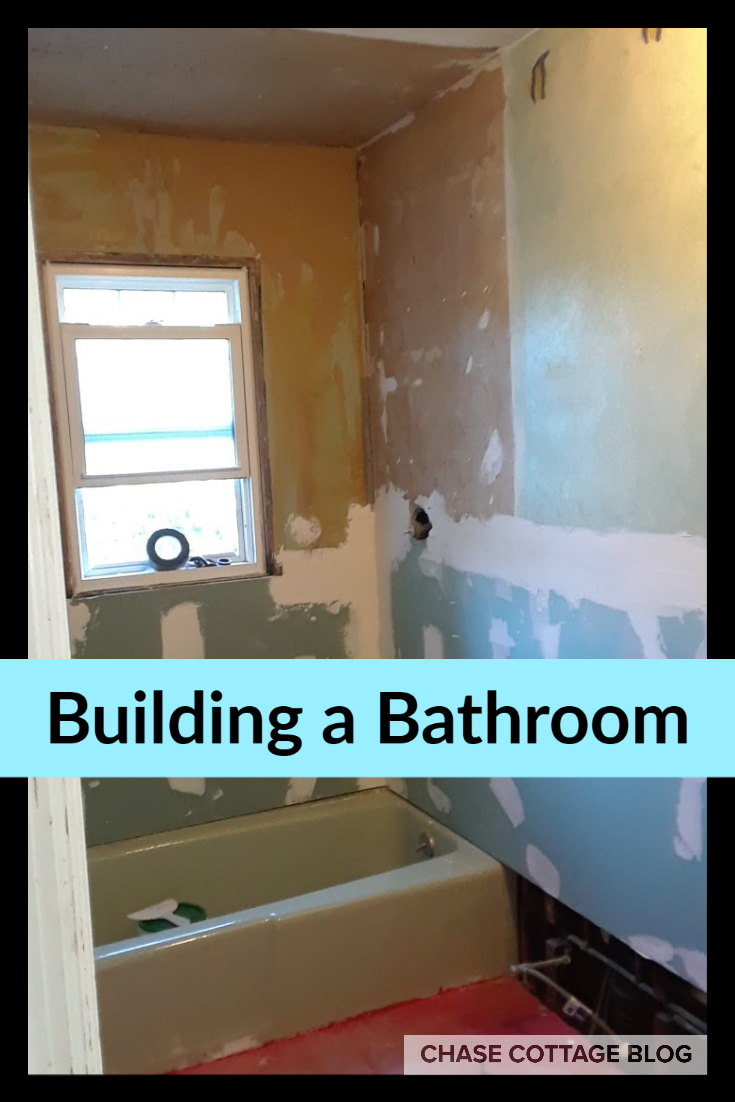
I replaced the insulation under the window and continued around the tub replacing the damaged drywall that I cut out. Most of the damage was water damage...

I continued around the room to the sink/vanity. I closed in the gaping hole under the sink and no more 1943 pink wall. You get a sneak peek at the new floor tile here too.

With all of the drywall up, I waterproofed the shower as well for the full crime scene effect.
With the foundation laid, I was finally ready to tile, install fixtures, and decorate! Come back next week to see it start to get pretty!


Comments
Post a Comment